I remember when I was a university student. The first time I pressed a string on the double bass with my left hand, the string height was more than 1cm, and the high tension of the strings combined to make it impossible for me to produce the phrases in my head. The four fingers of the left hand that can be used on the electric bass are limited by the three fingers of the Simandle method on the double bass. 3 fingers can only cover 3 frets, so the phrases that can be played smoothly are probably Augmented and Inverted 3rd triads.
I remember watching a video of virtuoso Marco Panacia playing with his thumb near the neck in the low position, and I was impressed. However, the number of frets that could be covered was still limited to four. This year, after researching how to press the strings with my left hand, I found a way to play that suited me. It was to use four fingers, including the ring finger, in the low position, including the half position. The first thing that made me realize this was watching Yuri Goloubev’s video on the high-position technique.
At the 7:47 minute mark, he explains that there are three different left-hand shapes: the first extends the thumb to ring finger to the major third; the second extends the thumb to ring finger to the perfect fourth; the third extends the thumb to ring finger to the minor third. Once I learned this method, I felt that this thumb position eliminated some of the limitations of phrasing.
As long as you are aware of where my thumb is, the pitch will match, and the ability to cover up to six frets is wider than on an electric bass guitar. I began to explore new possibilities in the low position as well as the high position.
Yuri’s left-hand movement is beautiful. He seems especially conscious of playing with his fingertips. I started playing fretted bass guitar, so I was pressing strings with my fingerpads. I did not understand what was different about the relation between tone and point of contact of the finger. I learned from YouTube that finger-pressing points can make a big difference.
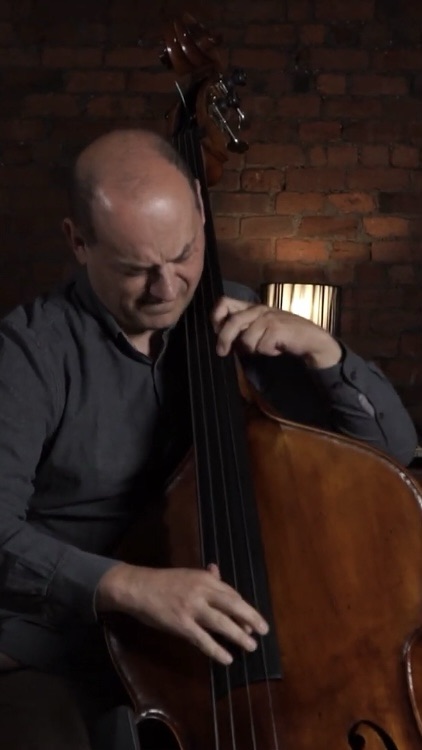
In this video, at 22:23, Chris Fitzgerald explains whether to press the strings with the fingerpads or the fingertips. (He is an Admin on Talkbass.com and often appears in threads). The closer you get to the fingertip rather than the fingerpads, the less force you need to apply to the string. Also, with the fingertip, the pitch is clear; with the fingerpads, there is a growl, especially on the E and A strings. Jazz bassists often use fingerpads. Which is better depends on what sound the individual hears in their head, and I chose the fingertip technique because I wanted to reduce the force of pressing strings as much as possible. Also, I preferred a clear sound. However, it took me months to figure out where on the fingertips to press. If I played just under the fingernail, near the bone where there was no flesh, the strings were clearer and could be pressed with less force, but it was difficult to fret when moving from one string to another. I struggled with this for several months because I was obsessed with having to play just under the fingernail, but now that I think about it, I don’t think I had to worry too much. I had no problem practicing by trusting my intuition and what felt natural to me, because the places where I could press my fingertips were naturally fixed to a certain extent.
I also found Lauren of Discover Double Bass’s video on how to maintain the curve of the fingertips to be helpful. If you look closely at the left hand of jazz bassists, you will often see cases where the first joint of the fingers is collapsed. If the fingers are in contact with a string at a point close to the fingerpads, the fingers are more likely to collapse. In the case of the fingertip pressing technique, it is necessary to always keep the finger joints rounded to avoid collapsing the joints. Lauren in the video explains how much curve to maintain for the left hand finger and it was useful for reference.
In the low position, the first joint of the left finger should have a curve until it is just above the string, and in the thumb position, the second joint should be bent until it is just above the string.
I found that keeping the curve of the left hand made the shifting faster and gave me the feeling of applying the weight of my arm directly to the strings.
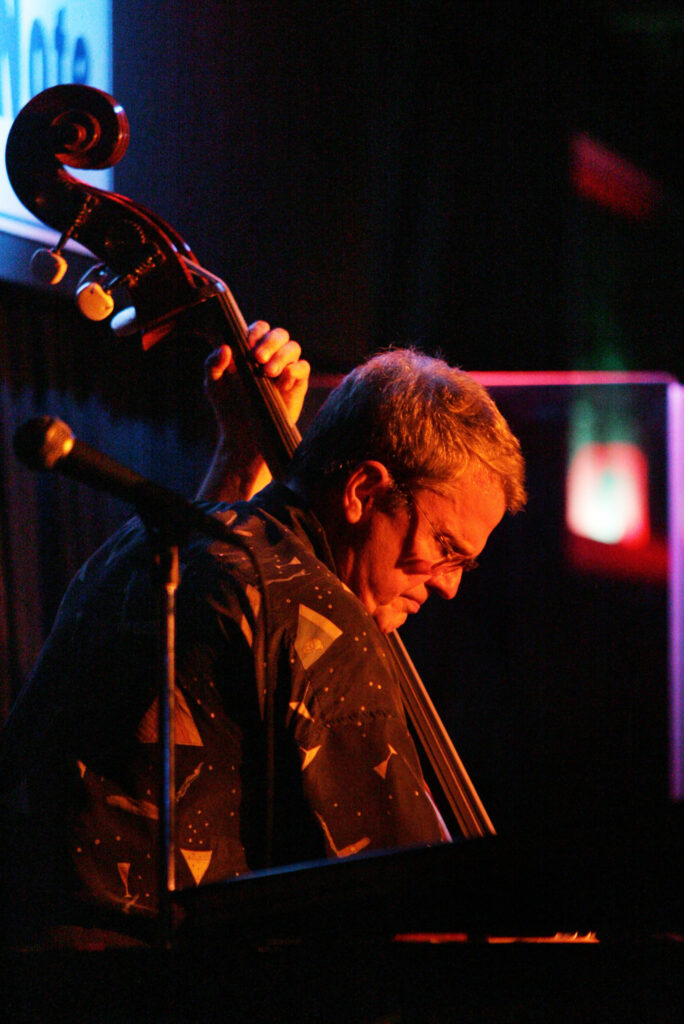
I also found John Clayton’s left-hand video helpful (4:03~). On the bass guitar, the neck is relatively flat, so there is no need to worry about the position of the left thumb holding the neck. On the other hand, the double bass has a deep U-shaped neck, and although it is not as wide as the bass guitar, it is thicker at the back. Therefore, when pressing the E and A strings, it is necessary to shift the thumb holding the neck slightly to the left (toward the G string). If you press the strings with your fingertips without shifting, you will grip the strings like Charlie Haden, with your thumb coming out from the E string side. It is like holding a baseball bat. This grip is extremely natural and reasonable for the human hand mechanically. This is what happens when you instinctively try to grip a thick stick like a baseball bat.

However, this grip has its advantages and disadvantages. While it allows a natural grip, it also prevents the use of the rotational motion of the left wrist. The rotational motion of the left wrist is the motion of rotating from the index finger to the pinky starting from the thumb and index finger (as I call it), and in a low position, when pressing with fingers other than the index finger, the twisting motion of the wrist can be converted into string pressing energy. In a high position, all fingers, including the thumb, can be pressed with a rotational motion, so that strings can be pressed with a minimum of energy. (See the video of Yuri Goloubev’s performance for a better understanding of the rotational motion of the left wrist.)


When you rotate your left hand, fold your ring and pinky as much as possible. This makes you more aware of the curve of the fingers and makes it easier to maintain the curve.
——
I started using my ring finger in a low position after learning Marcos Machad’s style of playing.
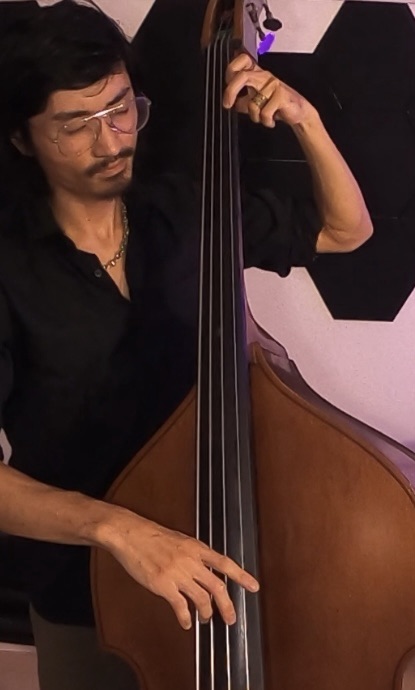
I was shocked when I saw an interview with Marcos Machads on Discover Double Bass. By pivoting the thumb instead of pinning it to the neck, he can use his ring finger even in the low position. Even if you can’t cover the 6th fret and up to the perfect 4th degree like in the high position, you can cover the major 3rd degree and minor 3rd degree in the low position. When I first tried it, I doubted that the pitch would match, but I realized that with practice, the left hand could adapt to the new system over time. As with the high position, if you are aware of the position of your thumb, you can cover five frets in the low position without losing sight of the pitch, which is great. Especially near the neck of the double bass, the fret spacing is the same as the cello’s fret spacing, according to Machads in the video. Since the cello makes use of four fingers in the left hand, four fingers, including the ring finger, are especially useful near the neck of the double bass.
When I imagined four fingers for the left hand, I had the image of stretching the hand like a Simandl to match the fret spacing. This made the movement unnatural when practiced, and I did not consider it as an option, but I realized that the finger spacing should always be relaxed.

Stretching the fingers so that the finger spacing is even
The following video by Chris Fitzgerald helped discuss techniques that do not stretch the left-hand shape.
With proper practice, one can learn to stretch the finger spacing to match the fretting (Simandl method). This would mean that one could learn through practice to match the pitch with the pivot of the thumb without having to stretch the finger per fret.
François Rabbath’s video was also very helpful. Marcos Machads was also heavily influenced by Rabbatth. The fantastic players I have referred showed me the possibility of using their own optimized systems without having to stick to the Simandl or dogmas.
Finally, my current system for the left hand is both a 4-finger system that incorporates the ring finger in the low position as practiced by Marcos Machads and a 3-finger Simandl system, depending on the phrase I want to play. C Eb G Bb in Minor 7, I play it with 4 fingers; C E Ab in C Augmented, I play it with 3 fingers. Walking bass lines are almost always played with 3 fingers. 3 finger system is especially useful when I use the neck heel to anchor the good pitch. Before adopting the 4-finger system, I was worried that my brain would get confused if I installed it in parallel with the Simandl system, but there was no confusion, just more options.
This may change in the future, but in summary, my current system for my left hand is as follows.
1: Press strings with fingertips
2: Keep the curve of the fingers (the first joint of the index finger is almost perpendicular to the strings in both low and high positions)
3: In low position, 4-finger (ring finger) and thumb pivot, covering up to the 5th fret.
4: In high position, 3 different shapes are used, covering up to the 6th fret (Major 3rd, Minor 3rd, Perfect 4th).
Marcos Machads says in the Discover Double Bass video interview at 6:05:
It’s the music that decides my fingering. It is not Simandl or Bille…